 In this section, we will guide you through the process of hooking up a 36-volt trolling motor for an enhanced boating experience. Our expert-guided hookup process includes step-by-step instructions to ensure a seamless installation. Whether you’re a seasoned boater or a new enthusiast, our guide will help you connect your motor with confidence and ease.
Follow our detailed instructions to gather the necessary equipment, connect the battery cables, and install a circuit breaker switch for a reliable and efficient hookup process. With our expert guidance, you’ll be able to enjoy your time on the water with a powerful and dependable 36-volt trolling motor. So, let’s get started!
Before diving into the hookup process, it’s important to understand the necessary equipment required for successful installation. With our guide, you’ll learn how to gather the essential items, including a 36-volt battery, battery cables, and a circuit breaker switch to ensure a smooth and efficient hook up.
Stay with us and get ready to elevate your boating experience with our expert guidance on how to hook up a 36-volt trolling motor.
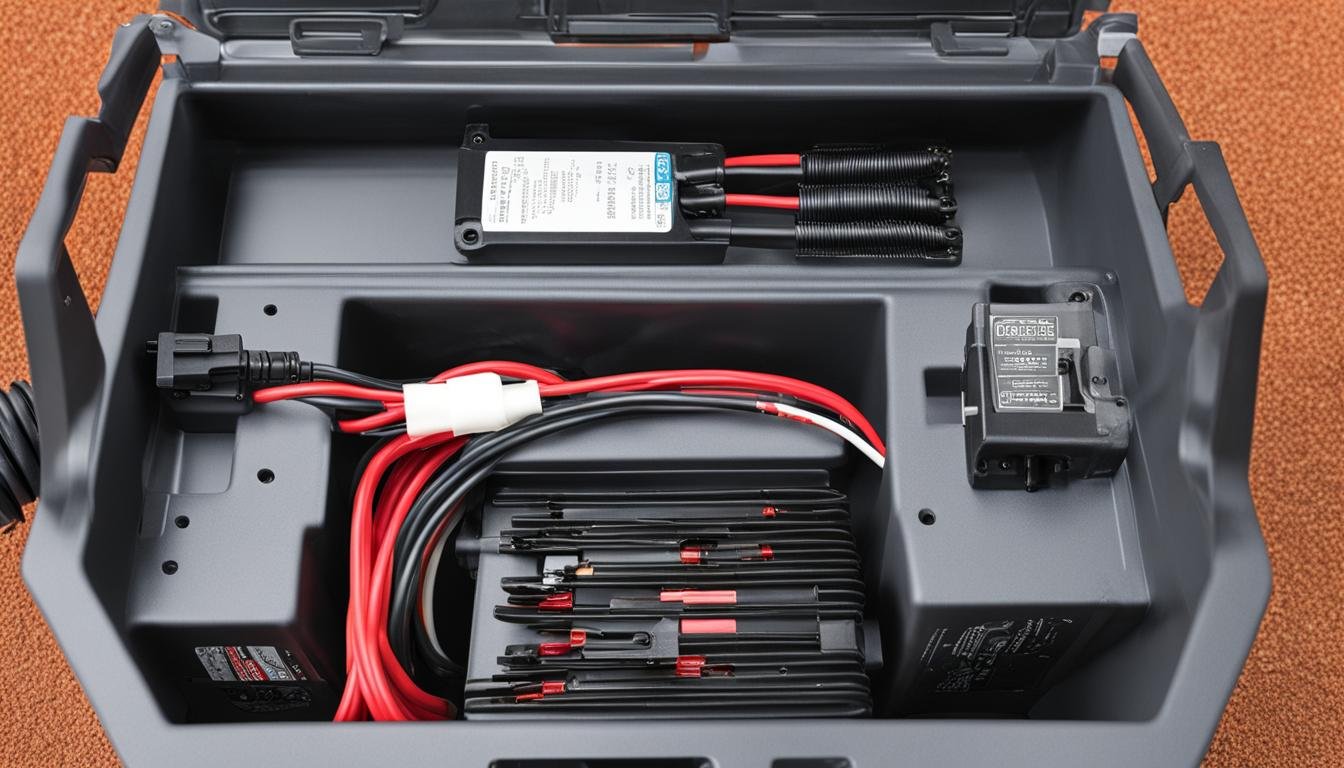
Gather the Necessary Equipment
Before proceeding to the hookup process, it is essential to gather all the necessary equipment. The following items are required:
| Equipment | Description |
|---|---|
| 36-volt battery | Choose a reliable and high-quality battery that is appropriate for your trolling motor. Ensure that it is fully charged before proceeding with the hookup process. |
| Battery cables | Select cables that are compatible with the 36-volt battery and trolling motor. Ensure they are the correct length and gauge for your specific setup. |
| Circuit breaker switch | Install a Circuit breaker switch to protect your motor from potential electrical overload. Choose a switch that is appropriate for your motor and meets the necessary safety standards. |
By having these necessary items on hand, you can proceed with confidence and ensure a successful hookup process.
Connect the Battery Cables
Now that you have gathered all the necessary equipment, it’s time to connect the battery cables to your 36-volt trolling motor. For a secure and reliable connection, you need to ensure that you connect the positive and negative terminals correctly.
To start, position the battery in a secure and stable location, ensuring it is covered and protected from the elements. Next, locate the positive and negative terminals on the battery and the trolling motor. The positive terminal on the battery should be marked with a plus sign (+), while the negative terminal will have a minus sign (-).
Using the appropriate battery cables, connect the positive terminal on the battery to the positive terminal on the trolling motor. It’s important to double-check that the connections are secure and that they aren’t loose. Loose connections can lead to power loss, and your motor may not function correctly.
Next, connect the negative terminal on the battery to the negative terminal on the trolling motor. Make sure that the connections are secure, and there’s no chance of them coming loose. You can use electrical tape or cable ties to secure the connections if needed.
Before you proceed, ensure that all the connections are secure and that there are no exposed wires. Exposed wires can lead to electrical shorts and can be dangerous, so it’s essential to check everything thoroughly.
| POSITIVE TERMINAL | NEGATIVE TERMINAL |
|---|---|
| The positive terminal on the battery is marked with a plus sign (+). | The negative terminal on the battery is marked with a minus sign (-). |
| The positive terminal on the trolling motor is marked with a plus sign (+). | The negative terminal on the trolling motor is marked with a minus sign (-). |
Install the Circuit Breaker Switch
Installing a circuit breaker switch is a crucial protective measure when hooking up a 36-volt trolling motor to prevent electrical overload. The circuit breaker switch acts as a safety device that cuts off the electrical supply whenever it detects a surge in current flow. This prevents damage to the trolling motor, battery, and any other electrical components. Follow these steps to install the circuit breaker switch:
- Choose an appropriate location for the circuit breaker switch that is easily accessible and visible.
- Using an appropriate drill bit, make a hole in the boat’s hull for the circuit breaker switch’s mounting screws.
- Secure the circuit breaker switch using the mounting screws, ensuring that it is level and secure.
- Attach the wires to the circuit breaker switch according to the manufacturer’s instructions, taking care to ensure that the wires are correctly connected to the switch’s input and output terminals. Some circuit breaker switches may have additional wires for LED indicator lights.
- Activate the circuit breaker switch to test its functionality. If the switch activates properly, the LED lights should come on.
Remember, installing a circuit breaker switch is a protective measure that you should never skip when hooking up a 36-volt trolling motor. Ensure that everything is properly installed and secure before venturing out onto the water.
Conclusion
Mastering the hookup process for a 36-volt trolling motor can greatly improve your boating experience. Follow our expert-guided guide to ensure a smooth and efficient installation process. Remember to gather the necessary equipment, connect the battery cables properly, and install a circuit breaker switch to protect your equipment against electrical overload. A reliable and powerful motor will allow you to enjoy your time on the water with confidence. Optimize your boating experience with a well-hooked-up 36-volt trolling motor.

- Experience the Thrill of Tandem Kayaking with Necky Amaruk Tandem Kayaks - April 13, 2024
- How to Transport a Kayak on a Car? - February 29, 2024
- What Size Battery for a 30 LB Trolling Motor? - January 31, 2024