 If you’re an avid angler, you understand the importance of having a reliable trolling motor. However, to ensure optimal performance, you must wire your trolling motor batteries correctly. In this section, we’ll provide you with a step-by-step guide on how to wire trolling motor batteries. By following our instructions, you can optimize your trolling motor, ensuring that it performs at its best on every fishing trip.
Whether you’re a seasoned angler or a beginner, our guide will help you wire your trolling motor batteries with ease. From understanding power requirements to connecting the trolling motor to the batteries, we will cover all of the essential steps you need to know. We will also help you choose between wiring your batteries in series or parallel, depending on your specific setup. By the end of this section, you’ll have a solid understanding of how to wire trolling motor batteries and be ready to enhance your boating experience.
Before we dive into the details of wiring your trolling motor batteries, let’s first cover some of the essential SEO-relevant keywords of this section. These include wiring trolling motor batteries, wire trolling motor batteries, and trolling motor battery setup. Keep these keywords in mind as we move forward, and you’ll be well on your way to optimizing the performance of your trolling motor.
Understand the Power Requirements
Before you begin wiring your trolling motor batteries, it’s crucial to understand the power requirements of your motor. Knowing the power requirements will help you choose batteries with sufficient capacity to power your setup.
First, determine the voltage and amperage needed for your specific trolling motor model. Most trolling motors operate on 12V, 24V, or 36V systems, but check your motor’s manual for specific requirements.
Once you know the voltage, calculate the necessary battery capacity. The battery capacity needed for a trolling motor depends on the motor’s power draw and runtime. It’s recommended to choose a battery with at least 100 ampere-hours (Ah) capacity for every 100 pounds of thrust.
For example, a 55-pound thrust trolling motor would require at least a 55 Ah battery, while a 70-pound thrust motor would require a minimum of a 70 Ah battery. Choosing the right battery capacity will ensure that your trolling motor runs smoothly and efficiently, and you can enjoy your boating experience without worrying about battery performance.
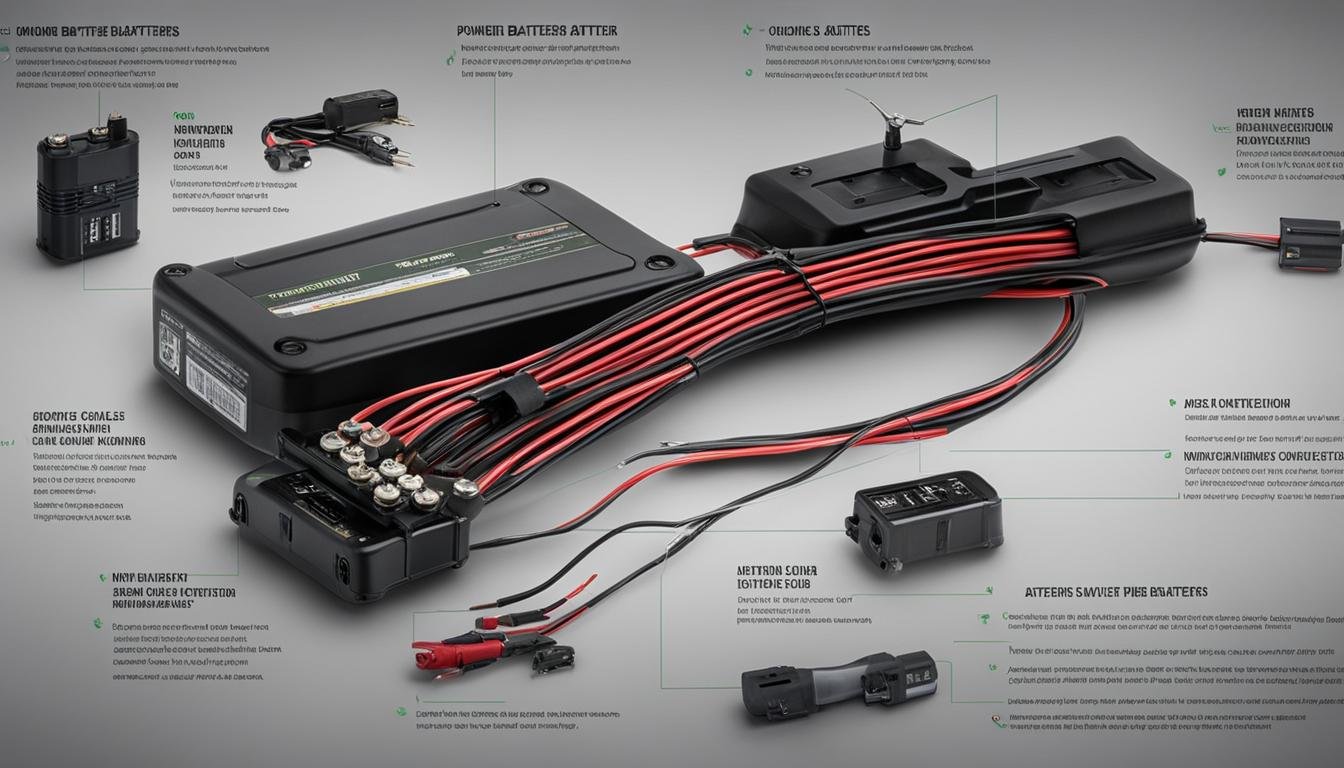
Gather the Necessary Tools
Before wiring your trolling motor batteries, make sure you have all the necessary tools at hand. Having the right tools will ensure that you complete the job safely and efficiently. Here are the tools you will need:
- Battery switch
- Battery cables
- Heat shrink tubing
- Wire strippers
- Crimping tool
- Battery terminal cleaner
These tools are available at most marine supply stores and online. Make sure you purchase high-quality tools that will last a long time and withstand the harsh marine environment.
When selecting the battery cables, make sure they are the correct size for the amperage and voltage of your trolling motor. The heat shrink tubing will help protect the connections from moisture and corrosion.
Using a crimping tool will make it easier to attach cables to the battery terminals securely. A battery terminal cleaner will ensure that the terminals are free from corrosion, which can cause a poor connection and affect your trolling motor’s performance.
Investing in the right tools will ensure that you complete the job safely, efficiently and effectively. Keep the tools in a dry and secure location so that they are on hand the next time you need them.
Prepare the Batteries
Before wiring your trolling motor batteries, it’s crucial to prepare them properly. Following the below steps will help optimize your battery performance:
- Inspect the batteries: Before using, inspect the batteries for any signs of damage or corrosion. Replace any damaged batteries immediately.
- Clean the battery terminals: Use a battery terminal cleaner to clean the terminals, ensuring a secure and efficient connection. Avoid using tools such as screwdrivers or wire brushes as they can damage the terminals.
- Fully charge the batteries: Ensure that the batteries are fully charged before wiring, as improperly charged batteries can lead to poor performance and faster wear and tear.
- Maintain the batteries: Regular maintenance is critical for the longevity of your batteries. Keep them clean, and avoid overcharging or undercharging the batteries.
By following these basic preparation steps, you can ensure that your trolling motor batteries perform at their best and last longer.
Wiring the Batteries in Series or Parallel
Wiring your trolling motor batteries in either series or parallel configuration will depend on your specific setup and motor requirements. The choice between series and parallel wiring will directly affect your battery’s voltage and capacity.
In series wiring, connect the positive terminal of the first battery to the negative terminal of the second battery, and so on, until all batteries are linked. This setup will increase your total voltage while maintaining the same capacity. For instance, two 12-volt batteries wired in series will yield a 24-volt system.
On the other hand, parallel wiring involves connecting the positive terminals of all batteries and the negative terminals of all batteries to each other. This setup will increase your total capacity while maintaining the same voltage. For instance, two 100-ampere hour batteries wired in parallel will yield a 200-ampere hour system.
When deciding on which wiring method to use, consider your trolling motor’s power requirements and your boating needs. A dual battery setup may also be an option to ensure you have a backup system in case one battery fails.
Connecting the Trolling Motor to the Batteries
Now that you have wired your trolling motor batteries, it’s time to connect the trolling motor to the battery. You will need to make sure that the wiring connections are correct and secure to ensure the safety and efficiency of your setup.
Follow the steps to connect your trolling motor to the batteries:
- Identify the positive and negative terminals on your trolling motor’s wiring harness.
- The positive terminal is typically marked with a (+) sign or the letter P.
- The negative terminal is typically marked with a (-) sign or the letter N.
- Connect the red wire from your trolling motor’s wiring harness to the positive terminal of the first battery.
- Connect the black wire from your trolling motor’s wiring harness to the negative terminal of the second battery.
- Ensure that all wiring connections are secure. Use a crimping tool to crimp any loose wires or connections.
- Once all the connections are secure, cover them with heat shrink tubing to protect them from corrosion and damage.
It’s essential to check your wiring connections and ensure that they are secure and in their proper place. Loose connections can cause short circuits, overheating, and other damages to your trolling motor, batteries, and boat. Regularly inspect and maintain your wiring connections for optimal performance.
Testing and Troubleshooting
After wiring your trolling motor batteries, it’s crucial to test the setup to ensure everything is functioning correctly. Here are the steps you need to follow to test your trolling motor battery setup:
- Ensure that the battery switch is turned off before testing.
- Connect your trolling motor to the batteries as per the instructions provided by the manufacturer.
- Turn on the battery switch and test the motor’s performance at different speeds to ensure it’s running smoothly.
- If you notice any issues, such as the motor not running or running inconsistently, turn off the battery switch and check the wiring connections and battery charge levels.
- You can also use a multimeter to test the voltage of each battery and ensure they’re providing the correct amount of power.
Troubleshooting Trolling Motor Wiring
If you encounter any issues with your trolling motor battery setup, here are some troubleshooting tips:
- Check the wiring connections to ensure they’re secure and free of damage or corrosion.
- Inspect the battery terminals and ensure they’re clean and free of any debris or corrosion.
- Check the battery charge levels to ensure they’re fully charged.
- If using a dual battery setup, ensure that the batteries are wired correctly in either series or parallel configuration.
- Refer to the manufacturer’s instructions for any specific troubleshooting steps related to your trolling motor model.
Before heading out on the water, there are a few things you can do to ensure a successful test run:
| Task | Description |
|---|---|
| Charge the Batteries | Ensure that your batteries are fully charged, so they can provide optimal power output during your test run. |
| Use Fresh Fuel | If your boat is equipped with a gas-powered motor, fill up the tank with fresh fuel before heading out on the water. |
| Bring a Backup Battery | It’s always a good idea to bring a backup battery with you on your test run, just in case you encounter any issues with your primary battery. |
By following these tips and troubleshooting steps, you can ensure that your trolling motor battery setup is running smoothly and efficiently, providing you with a more enjoyable boating experience.
Conclusion
Wiring trolling motor batteries may seem daunting at first, but by following our step-by-step guide, you can ensure a proper and efficient setup that will optimize your boating experience. Remember to always consider the power requirements of your specific trolling motor model and choose batteries with sufficient capacity to meet those requirements.
Gathering the necessary tools and preparing the batteries properly are also crucial steps to ensure the success of your trolling motor battery setup. Wiring your batteries in either series or parallel configuration will depend on your specific setup and motor requirements, but we have provided detailed instructions on both wiring methods to help you choose the most suitable one for your needs.
Connecting the trolling motor to the batteries is the final step in the wiring process, and we have provided you with detailed instructions on how to make the proper connections to ensure a secure and efficient setup.
After completing the wiring process, testing and troubleshooting your trolling motor battery setup is crucial to ensure optimal performance. By following our troubleshooting tips, you can address common problems and enjoy longer fishing trips without worrying about battery performance.
Mastering the art of wiring trolling motor batteries is essential for any boating enthusiast. We hope our guide has been helpful and that you can now confidently optimize your boating experience with a proper and efficient trolling motor battery setup. Happy boating!

- How to Inflate Intex Explorer K2 Kayak? - June 10, 2025
- Experience the Thrill of Tandem Kayaking with Necky Amaruk Tandem Kayaks - April 13, 2024
- How to Transport a Kayak on a Car? - February 29, 2024