 Proper maintenance and occasional repairs are essential for keeping your Minn Kota trolling motor in top shape. In some instances, you may need to disassemble the motor housing and shaft to address specific issues. This step-by-step guide will walk you through the process of taking apart your Minn Kota trolling motor, ensuring that you can perform necessary maintenance and repairs with confidence.
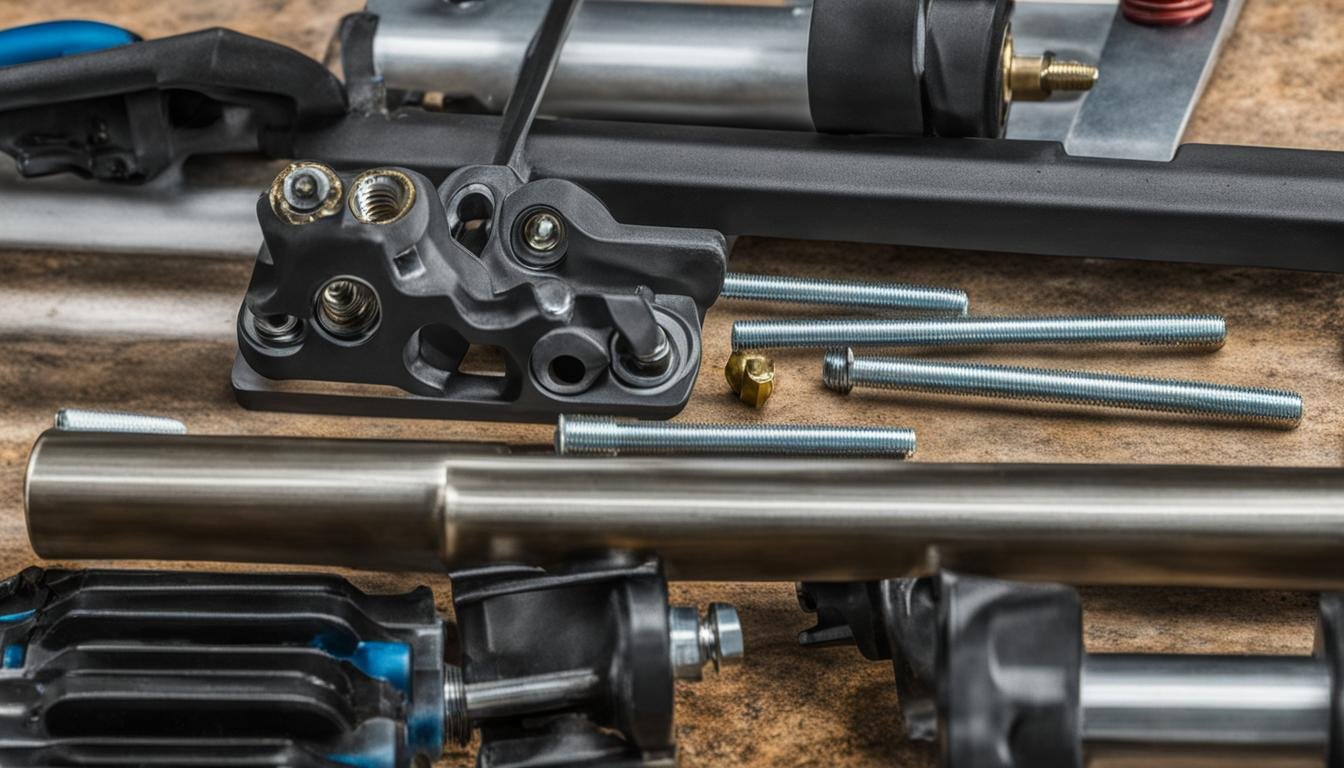
Before we dive into the details of disassembly, it’s important to gather the necessary tools. These tools will help you navigate the process smoothly and efficiently, saving you time and frustration. Let’s take a look at the tools you’ll need:
Tools Needed for Disassembly of a Minn Kota Trolling Motor
To successfully take apart your Minn Kota trolling motor, make sure you have the following tools at hand:
- Screwdrivers (both flathead and Phillips head)
- Adjustable wrench
- Pliers
- Allen wrench set
- Grease or lubricant
- Clean cloth or towel
Now that you have the tools ready, let’s proceed with the step-by-step guide on how to disassemble a Minn Kota trolling motor.
Tools Needed for Disassembly of a Minn Kota Trolling Motor
Properly disassembling a Minn Kota trolling motor requires the use of specific tools to ensure a smooth and efficient process. By having the right tools on hand, you can avoid unnecessary delays and frustrations. Here are the essential tools you will need:
- Screwdrivers: Different sizes of screwdrivers, including Phillips and flathead, will be required to remove screws and access various components of the trolling motor.
- Socket set: A socket set is necessary for loosening and tightening bolts and nuts during disassembly.
- Pliers: Pliers, such as needle-nose and channel-lock pliers, are useful for gripping and manipulating small parts.
- Hex wrench set: You may need hex wrenches to remove hex head screws or bolts on certain models of Minn Kota trolling motors.
- Wire cutters/strippers: Wire cutters or strippers are essential for working with electrical connections and wires.
- Grease: Having grease on hand will allow you to lubricate components during reassembly.
It’s important to note that the specific tools required may vary depending on the model of your Minn Kota trolling motor, so always consult the user manual or manufacturer’s instructions for any additional tools that may be needed.
By having these tools readily available, you can confidently proceed with the disassembly of your Minn Kota trolling motor, knowing that you have everything you need to successfully complete the process.
| Tool | Description |
|---|---|
| Screwdrivers | Different sizes, including Phillips and flathead, for removing screws |
| Socket set | Loosen and tighten bolts and nuts |
| Pliers | Needle-nose and channel-lock pliers for gripping and manipulating small parts |
| Hex wrench set | Remove hex head screws or bolts on certain models |
| Wire cutters/strippers | Cut or strip wires for electrical connections |
| Grease | Lubricate components during reassembly |
Always use the appropriate tools for the job and handle them with care to avoid any accidents or damage to the trolling motor.
Step-by-Step Guide for Disassembling a Minn Kota Trolling Motor
If you’re looking to disassemble your Minn Kota trolling motor for maintenance or repairs, follow these step-by-step instructions to ensure a successful disassembly process:
Step 1: Gather the necessary tools
Before you begin disassembling your Minn Kota trolling motor, make sure you have the following tools handy:
- Phillips screwdriver
- Flathead screwdriver
- Adjustable wrench
- Needle-nose pliers
- Allen wrench set (if applicable to your motor)
Step 2: Disconnect the power supply
Prior to disassembly, always disconnect the power supply to avoid any potential electrical hazards. This can be done by disconnecting the battery or unplugging the motor from its power source.
Step 3: Remove the propeller
Start by removing the propeller from the motor shaft. This is typically done by loosening the propeller nut or screw and sliding the propeller off the shaft.
Step 4: Remove the motor head
Next, locate the motor head and remove any screws or bolts securing it to the motor housing. Once the screws are removed, carefully lift off the motor head to expose the internal components.
Step 5: Disassemble the motor housing
After removing the motor head, you’ll have access to the motor housing. Use a screwdriver or other appropriate tools to remove any screws or bolts securing the housing. Once all screws are removed, gently separate the housing to reveal the motor and other internal parts.
Step 6: Take apart the motor and shaft
Carefully disassemble the motor and shaft components by removing any necessary screws or bolts. Take note of the order in which the parts are removed to ensure proper reassembly later on.
Step 7: Document and clean the components
As you disassemble the Minn Kota trolling motor, it’s important to document the process and take note of any damaged or worn parts that may require replacement. Additionally, clean each component thoroughly to remove any dirt, debris, or corrosion.
Step 8: Reassembly and testing
Once you’ve completed the necessary maintenance or repairs, reverse the disassembly process to reassemble the motor. Make sure all components are securely fastened and reattach the motor head, propeller, and power supply. Before heading out on your next fishing trip, test the motor to ensure it is functioning properly.
By following this step-by-step guide, you’ll be able to disassemble your Minn Kota trolling motor with confidence, allowing for effective maintenance and repairs.
Tips for a Successful Disassembly of a Minn Kota Trolling Motor
If you’re planning to disassemble your Minn Kota trolling motor, follow these tips to ensure a successful and smooth process:
1. Gather the necessary tools:
Before starting the disassembly, make sure you have all the required tools at hand. This will save you time and frustration during the process. Refer to the previous section for a detailed list of tools needed.
2. Read the user manual:
Consult the user manual specific to your Minn Kota trolling motor model. The manual will provide you with detailed instructions and precautions for disassembly. Following the manufacturer’s guidelines will help prevent any damage to the motor and ensure a successful disassembly.
3. Take photos and notes:
Document the disassembly process by taking photos and notes. This will help you remember the exact placement and orientation of components. Additionally, if you encounter any difficulties during reassembly, you can refer back to your documentation for guidance.
4. Organize and label components:
As you remove each component, organize and label them accordingly. This will prevent confusion and make it easier to locate specific parts when reassembling the motor. Use small bags or containers to store screws, nuts, and bolts, ensuring they are clearly labeled to avoid mix-ups.
By following these tips, you can successfully disassemble your Minn Kota trolling motor without any hiccups. Remember to exercise caution and refer to the user manual for any model-specific instructions. Happy disassembling!
The Importance of Proper Maintenance for Minn Kota Trolling Motors
Proper maintenance is essential for ensuring the longevity and optimal performance of your Minn Kota trolling motor. By regularly inspecting and maintaining your motor, you can address any issues before they worsen and keep your motor running smoothly season after season. Here are some key reasons why proper maintenance is of utmost importance:
1. Prolonging the Lifespan of Your Motor
Regular maintenance helps to extend the lifespan of your Minn Kota trolling motor. By inspecting and cleaning the various components, such as the propeller, shaft, and motor housing, you can prevent the accumulation of dirt, debris, and corrosion. This not only ensures that your motor operates efficiently but also reduces the risk of premature wear and tear, saving you from costly repairs or replacements in the long run.
2. Maximizing Performance
Proper maintenance of your Minn Kota trolling motor directly impacts its performance on the water. By regularly lubricating moving parts, such as the shaft and gears, you can minimize friction and optimize the motor’s power delivery. Additionally, cleaning the propeller and removing any obstructions can improve thrust and maneuverability. By keeping your motor in top shape, you’ll be able to enjoy smooth and reliable operation during your fishing trips.
3. Identifying and Addressing Issues
Regular maintenance provides an opportunity to identify and address any potential issues with your Minn Kota trolling motor before they become major problems. By inspecting the electrical connections, wiring, and battery terminals, you can ensure proper functioning and prevent any electrical faults or malfunctions. Additionally, checking the condition of the propeller blades and replacing them if necessary can prevent imbalances or inefficiencies that could affect the motor’s performance.
4. Safety on the Water
Maintaining your Minn Kota trolling motor is not just about performance and lifespan but also about safety. A well-maintained motor reduces the risk of unexpected failures or breakdowns while you’re out on the water, giving you peace of mind during your fishing adventures. Whether you’re navigating through rough conditions or relying on your motor to maneuver in tight spots, proper maintenance ensures that your motor is reliable and won’t let you down when you need it most.
| Key Benefits of Proper Maintenance |
|---|
| Prolongs the lifespan of the motor |
| Maximizes performance on the water |
| Identifies and addresses potential issues |
| Ensures safety during fishing trips |
Conclusion
Disassembling a Minn Kota trolling motor is a necessary skill for proper maintenance and repair. By following the step-by-step guide provided in this article, you can confidently take apart your motor and access its internal components. Remember to always gather the necessary tools before starting the disassembly process.
Regular maintenance of your Minn Kota trolling motor is crucial for optimal performance and longevity. By disassembling the motor, you can easily clean and inspect its components, addressing any issues that may arise. Taking care during the disassembly process will ensure that you can reassemble the motor correctly and avoid any damage.
Consulting the user manual for model-specific instructions is recommended, as different models may have slight variations in their disassembly process. Additionally, exercising caution when handling the parts is important to prevent any injuries. With proper maintenance and timely repairs, your Minn Kota trolling motor will continue to serve you well on your fishing adventures for years to come.

- How to Inflate Intex Explorer K2 Kayak? - June 10, 2025
- Experience the Thrill of Tandem Kayaking with Necky Amaruk Tandem Kayaks - April 13, 2024
- How to Transport a Kayak on a Car? - February 29, 2024