 If you own an inflatable kayak and need to remove the skeg, it’s important to follow the correct steps to ensure a smooth process. The skeg is typically located on the underside of the kayak towards the back, and it plays a crucial role in tracking and stability. Whether you need to remove the skeg for maintenance purposes or specific water conditions, we’ll guide you through the process to make it hassle-free.
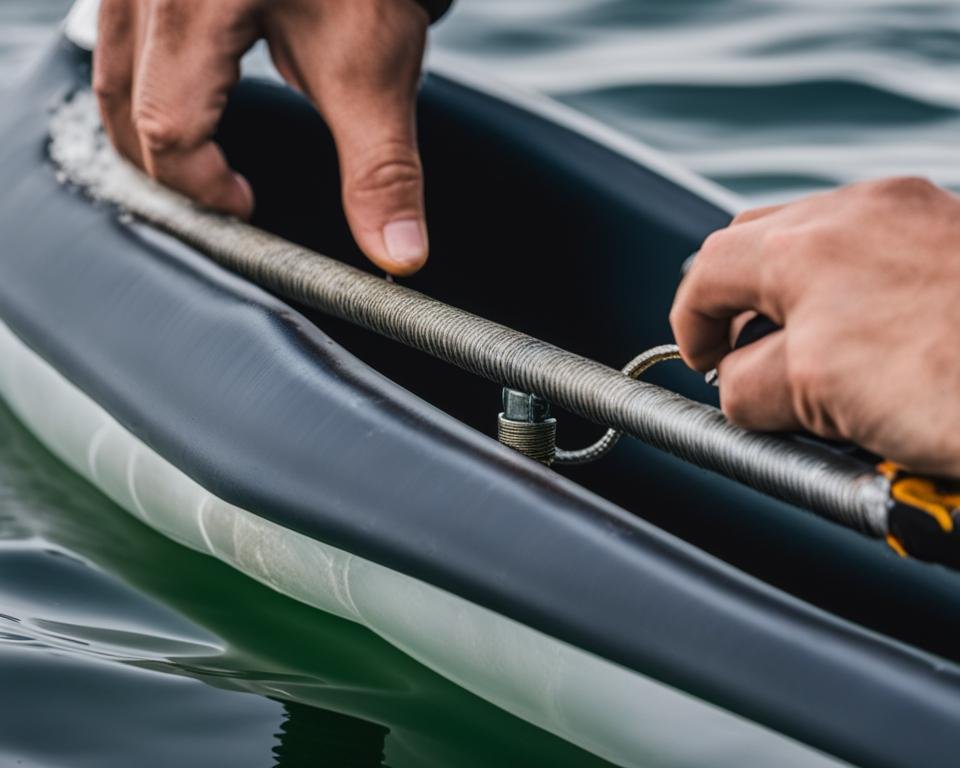
Before removing the skeg, make sure your inflatable kayak is fully deflated. To locate the skeg, inspect the underside of the kayak towards the back. Look for any screws or bolts that may be securing the skeg in place. You’ll need the appropriate tools, such as a screwdriver or wrench, to loosen and remove any fasteners.
Once the screws or bolts are removed, gently pull the skeg out of its housing. Be careful not to force or damage the skeg or the kayak. It may require some wiggle or light pressure to free it completely. Proper maintenance and care of your kayak’s skeg are essential to prolong its lifespan and ensure optimal performance.
In the next sections, we’ll provide tips for skeg maintenance and care, discuss when to remove the skeg based on different water conditions, and explore alternative tracking devices for your inflatable kayak.
Tips for Skeg Maintenance and Care
Proper maintenance and care of your kayak’s skeg can help prolong its lifespan and ensure optimal performance. After removing the skeg, inspect it for any signs of damage or wear. Clean the skeg, removing any dirt or debris that may have accumulated. If necessary, use a mild detergent or cleaning solution to remove stubborn dirt. Once cleaned, dry the skeg thoroughly before reattaching it or storing it.
It is also important to regularly check and tighten any screws or bolts that secure the skeg in place. This will prevent any shifting or loosening of the skeg during use. Additionally, inspect the skeg housing for any signs of damage or corrosion. If you notice any issues, consider replacing the housing or seeking professional assistance.
Table: Skeg Maintenance Checklist
| Step | Action |
|---|---|
| 1 | Inspect skeg for damage or wear |
| 2 | Clean skeg, remove dirt and debris |
| 3 | Dry the skeg thoroughly |
| 4 | Check and tighten screws or bolts |
| 5 | Inspect skeg housing for damage or corrosion |
When storing your kayak and skeg, make sure to keep them in a cool, dry place. Avoid exposing them to direct sunlight or extreme temperatures, as this can cause damage or deformation. Proper storage will help maintain the integrity of the skeg and ensure it is ready for your next paddling adventure.
By following these tips and incorporating regular skeg maintenance into your kayak care routine, you can prolong the lifespan of your skeg and enjoy optimal performance on the water.
When to Remove the Skeg
The decision to remove the skeg from your inflatable kayak will depend on the water conditions you will be paddling in. In calm, flatwater conditions, it is generally best to keep the skeg attached as it helps with tracking and stability. However, in shallow or rocky rivers, it may be necessary to remove the skeg to avoid damage or getting stuck. Additionally, if you are planning to do whitewater kayaking, the skeg should always be removed as it can impede maneuverability and become damaged.
Consider the specific water conditions and paddling environment to determine whether or not to remove the skeg. If you are unsure, consult experienced kayakers or local experts who are familiar with the area you will be paddling in. They can provide valuable insights and recommendations based on their knowledge and experience.
When to Remove the Skeg:
To summarize, here are some scenarios in which it may be appropriate to remove the skeg:
- Shallow or rocky rivers where the skeg could become damaged or cause the kayak to get stuck.
- Whitewater kayaking, where the skeg can impede maneuverability and potentially get damaged.
Always prioritize your safety and the longevity of your kayak when deciding whether or not to remove the skeg. Proper assessment of the water conditions and understanding the potential risks will help you make an informed decision.
Alternatives to Skegs
If you prefer not to use a skeg or need an alternative tracking device for your inflatable kayak, there are other options available. One popular alternative is a rudder, which can be attached to the back of the kayak and controlled with foot pedals. Rudders provide more precise control and maneuverability compared to skegs, especially in windy or choppy conditions. Another option is using directional stabilizers, which are smaller attachments that can be added to the sides of the kayak to improve tracking. These accessories can be easily attached and detached based on your specific paddling needs.
Benefits of Rudders:
- Enhanced maneuverability in windy or choppy conditions
- More precise control over kayak direction
- Ability to adjust the rudder angle for different water conditions
- Improved tracking and stability
When using a rudder, you can easily adjust the angle to accommodate different water conditions. This allows for better control and stability, especially when dealing with strong winds or rough waves. Additionally, foot pedals provide hands-free operation, allowing you to focus on paddling without constantly adjusting the rudder.
Directional Stabilizers:
- Improved tracking without the need for a skeg
- Easy attachment and detachment
- Enhanced stability in calm or choppy waters
- Less drag compared to a full-size rudder
If you prefer a less complex solution, directional stabilizers are a great option. These attachments can be easily added to the sides of your kayak, providing improved tracking without the need for a skeg or rudder. They offer enhanced stability in both calm and choppy waters, allowing for a more enjoyable paddling experience. Additionally, directional stabilizers create less drag compared to a full-size rudder, making them a popular choice for those looking to minimize resistance.
| Features | Rudder | Directional Stabilizers |
|---|---|---|
| Enhanced Maneuverability | ✓ | ✓ |
| Precise Control | ✓ | |
| Adjustable | ✓ | |
| Improved Tracking | ✓ | ✓ |
| Stability | ✓ | ✓ |
| Drag | ✓ |
In summary, if you are looking for an alternative to a skeg for your inflatable kayak, rudders and directional stabilizers are excellent options. Rudders offer enhanced maneuverability and precise control, making them ideal for challenging conditions. Directional stabilizers provide improved tracking and stability without the need for a skeg or rudder, making them a popular choice for those seeking simplicity and reduced drag. Consider your specific paddling needs and preferences to determine which alternative tracking device is the best fit for you.
Conclusion
Removing the skeg from an inflatable kayak is a relatively simple process that can be done by following a few steps. First, ensure that the kayak is fully deflated. Locate the skeg, usually positioned on the underside towards the back of the kayak, and remove any fasteners such as screws or bolts. Gently pull the skeg out of its housing, taking care not to force or damage it or the kayak.
Proper maintenance and care of the skeg are essential to ensure its longevity and optimal performance. After removing the skeg, inspect it for any signs of damage or wear. Clean the skeg, removing any dirt or debris, and dry it thoroughly before reattaching it or storing it in a cool, dry place. Regularly check and tighten any screws or bolts to prevent shifting or loosening during use.
Consider removing the skeg in certain water conditions where it may become damaged or hinder paddling. In calm, flatwater conditions, keeping the skeg attached helps with tracking and stability. However, in shallow or rocky rivers, removing the skeg can prevent damage or getting stuck. For whitewater kayaking, it is always advisable to remove the skeg to enhance maneuverability and prevent damage.
If you prefer not to use a skeg, there are alternative tracking devices available for inflatable kayaks. Rudders can be attached to the back of the kayak and controlled with foot pedals, providing precise control and maneuverability, particularly in windy or choppy conditions. Directional stabilizers, smaller attachments added to the sides of the kayak, improve tracking and can be easily attached or detached based on your paddling needs.
Ultimately, the decision to remove or use a skeg depends on your personal preferences and the specific paddling environment. Whether you choose to remove the skeg or explore alternative tracking devices, understanding the process and taking proper care of your kayak’s skeg will contribute to a safe and enjoyable paddling experience.

- How to Inflate Intex Explorer K2 Kayak? - June 10, 2025
- Experience the Thrill of Tandem Kayaking with Necky Amaruk Tandem Kayaks - April 13, 2024
- How to Transport a Kayak on a Car? - February 29, 2024