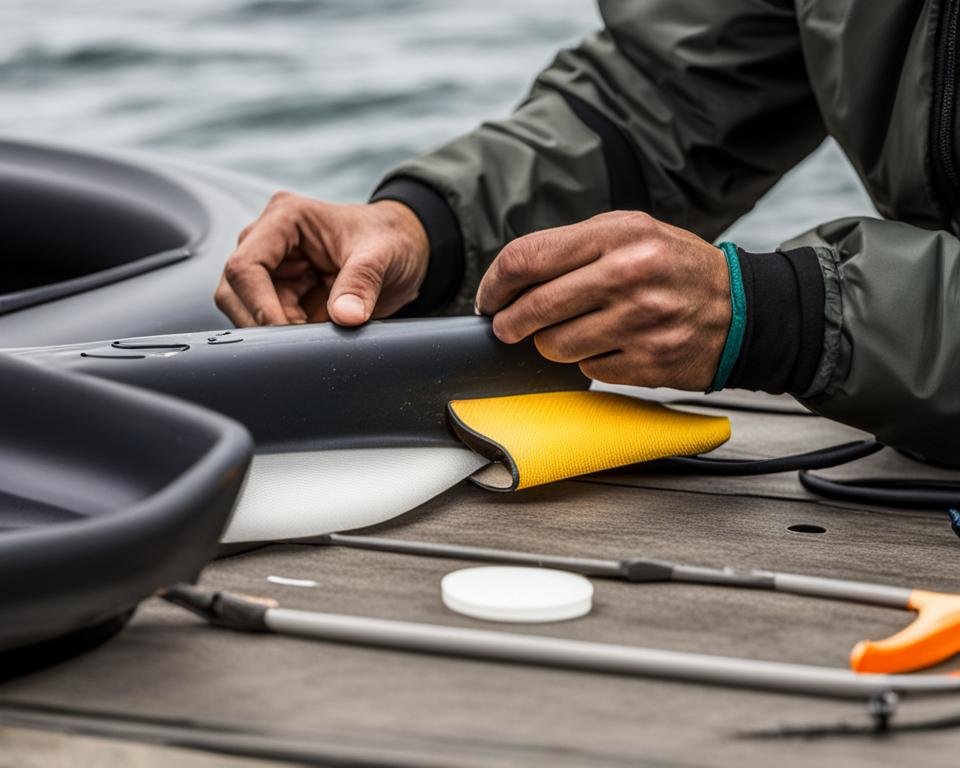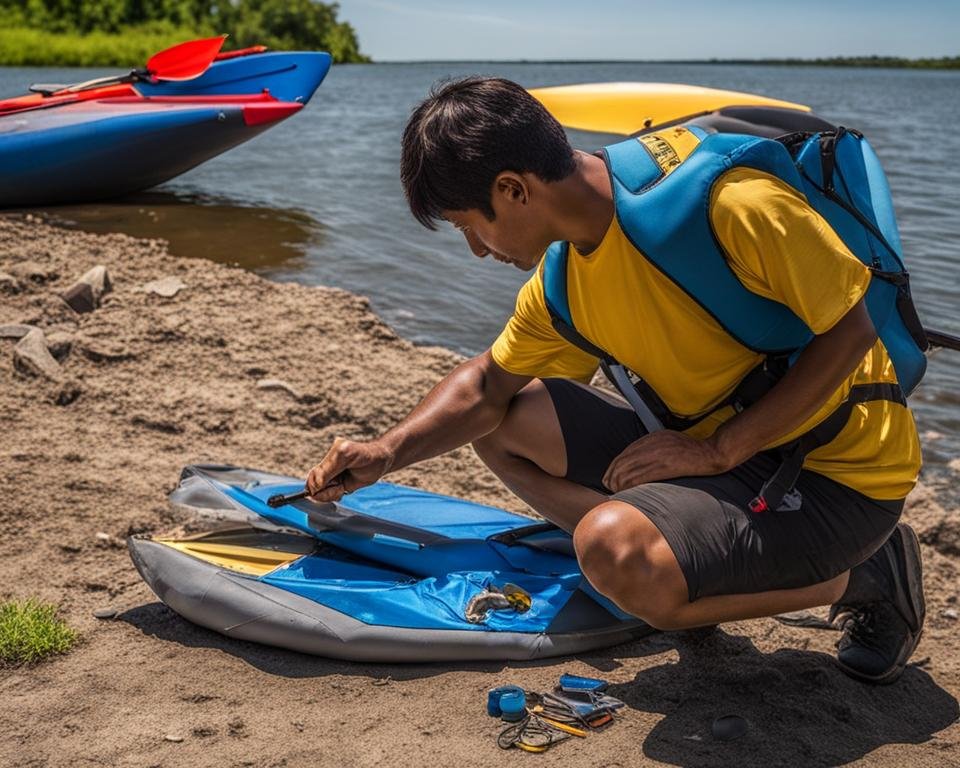
 Patching a hole in an inflatable kayak is an essential skill every kayaker should have. Whether it’s repairing a small hole or fixing a larger one, knowing the kayak repair process is crucial to ensure the longevity and safety of your kayak.
In this article, we will guide you through the steps of patching an inflatable kayak, from understanding the materials needed to locating the area that requires repair. So, let’s dive in and learn how to properly repair your kayak!
Buying the Right Repair Kit
In order to effectively repair your inflatable kayak, it is crucial to purchase the right repair kit that is compatible with the material of your kayak. Different kayaks are made from different materials such as PVC, CSM (Hypalon), or TPU, and using the wrong repair kit can result in poor adhesion and a weak patch.
The first step to determine the material of your kayak is to check the kayak’s information plate, owner’s manual, or contact the manufacturer for this information. Once you have identified the material, look for a repair kit that is specifically designed for that material. This will ensure that the adhesive or glue in the repair kit is formulated to bond properly with the material of your kayak, providing a strong and durable repair.
When purchasing a repair kit, pay attention to the compatibility information provided by the manufacturer. Some repair kits may be suitable for multiple materials, while others may be designed exclusively for a specific type of material. Take the time to read the product description and ensure that the repair kit you choose is appropriate for your kayak’s material.
Table: Comparison of Kayak Repair Kits
| Kit Name | Compatible Materials | Features |
|---|---|---|
| Kit A | PVC, TPU | Easy to use, quick curing time |
| Kit B | CSM (Hypalon) | Highly durable, excellent adhesion |
| Kit C | PVC, TPU, CSM (Hypalon) | Versatile, suitable for multiple materials |
By investing in a repair kit that is specifically designed for your kayak’s material, you can ensure a successful and long-lasting repair. Take the time to research and choose the right repair kit to effectively patch any holes or damage in your inflatable kayak.
Locating the Area that Requires Repair
Before patching a hole in your inflatable kayak, it is essential to locate the exact area that requires repair. There are a few methods you can use to identify the hole and ensure a successful repair.
Method 1: Coating the Kayak with Soapy Water
One effective way to find a hole in your kayak is by coating it with soapy water. Mix some dish soap with water and apply it generously to the surface of the kayak. Then, carefully inspect the entire kayak, paying close attention to the base, side chambers, and seams. Look for bubbles forming or listen for a hissing sound, which indicate the presence of a leak. Mark the location of the hole with a pencil for easy reference during the repair process.
Method 2: Submerging the Kayak in Water
If the hole is not immediately visible, you can try submerging the kayak in water. Fill a bathtub or large container with water and place the inflated kayak inside. Observe the kayak for any air bubbles rising to the surface, indicating the location of the leak. This method can be particularly useful for identifying smaller or harder-to-detect holes. Again, mark the area with a pencil once you’ve located the hole.
Method 3: Using a Spray Leak Detector
If you prefer a more precise method, you can invest in a spray leak detector specifically designed for inflatable kayaks. These leak detectors usually contain a dye or liquid that changes color upon contact with air, making it easier to identify leaks. Simply spray the detector onto the kayak’s surface and wait for any color changes to indicate the presence of a hole. Follow the manufacturer’s instructions for the specific product you choose.
By using these methods, you can effectively locate the area that requires repair in your inflatable kayak. Once you’ve identified the hole, you can proceed with cleaning and preparing the kayak before applying the patch.
Cleaning & Preparing the Kayak
Before applying the patch to your inflatable kayak, it is crucial to clean and prepare the surface properly. This ensures that the glue or epoxy used for the repair adheres well and provides a long-lasting solution. Follow these steps to clean and prepare your kayak before patching:
- Start by thoroughly rinsing the kayak with fresh water to remove any dirt or debris that may be on the surface. Use a mild detergent if necessary to remove stubborn stains.
- Next, use a soft sponge or cloth to scrub the kayak gently. Pay extra attention to the area where the repair will be made, as it needs to be free from any contaminants that could interfere with the adhesion of the patch.
- After cleaning, rinse the kayak again with fresh water to remove any soap residue. Make sure to rinse it well to prevent any leftover soap from affecting the patching process.
- Once the kayak is clean, it is important to let it dry completely before proceeding with the repair. Use a dry towel or cloth to remove any excess water and then allow the kayak to air dry in a well-ventilated area. Avoid exposing it to direct sunlight, as this can cause the material to become too hot and affect the patch’s adhesion.
Remember, a clean and dry surface is essential for a successful kayak repair. By taking the time to properly clean and prepare your inflatable kayak, you can ensure that the patch adheres securely and provides a reliable fix for the damaged area.
Table: Cleaning and Preparing the Kayak
| Steps | Description |
|---|---|
| 1 | Thoroughly rinse the kayak with fresh water |
| 2 | Gently scrub the kayak using a soft sponge or cloth |
| 3 | Rinse the kayak again with fresh water to remove soap residue |
| 4 | Dry the kayak completely using a towel or cloth |
| 5 | Allow the kayak to air dry in a well-ventilated area |
Patching Small and Large Holes
When it comes to patching holes in an inflatable kayak, the size of the hole will determine the technique you need to use. For small pin-sized holes, you can trace a coin over masking tape and cut out a patch from the traced hole. Apply glue to the patch and carefully paste it on the hole, making sure to apply even pressure. This method is effective for minor punctures and can easily be done at home.
However, for larger holes, a different approach is required. In addition to an “inside patch,” you may also need an “outside patch” to reinforce the repair. The inside patch is applied to the interior of the kayak, while the outside patch is applied to the exterior. This double-layer patching technique provides extra strength and durability, ensuring a lasting repair.
Table: Patching Techniques for Small and Large Holes
| Patching Technique | Use Case |
|---|---|
| Trace and Paste | Small pin-sized holes |
| Inside and Outside Patch | Larger holes |
By using the appropriate patching technique based on the size of the hole, you can effectively repair your inflatable kayak and ensure it remains safe and functional. Remember to follow the instructions provided with your repair kit and allow the recommended curing time before using the kayak again. Taking the necessary precautions and using the right techniques will help prolong the lifespan of your inflatable kayak for many more adventures on the water.
Curing and Waiting Time
After applying the patch to your inflatable kayak, it is crucial to allow for the proper curing time before using the kayak again. Curing refers to the process of the adhesive or glue fully bonding with the kayak material, ensuring a strong and long-lasting repair. The recommended curing time may vary depending on the type of repair kit used, so it is important to follow the instructions provided with the kit.
In general, most boat-safe epoxy or glue requires approximately 24 hours to fully cure. During this time, it is best to keep the kayak in a dry and well-ventilated area, away from direct sunlight or extreme temperatures. Rushing the curing process can compromise the effectiveness of the patch and may result in a weaker repair that could fail when the kayak is in use.
While waiting for the adhesive to cure, it’s also a good idea to inspect the patch periodically to ensure it is drying properly and there are no signs of peeling or lifting. If you notice any issues, it may be necessary to apply additional adhesive or make adjustments to ensure a secure bond.
By allowing the recommended curing time, you can have peace of mind knowing that your inflatable kayak is ready for use and the patch is strong enough to withstand the water’s pressure. Taking this extra step in the repair process will help extend the lifespan of your kayak and ensure your safety on the water.
Conclusion
In conclusion, properly patching an inflatable kayak is crucial for ensuring its safety and longevity. By following the step-by-step process, kayakers can effectively repair any holes and continue enjoying their water adventures.
One of the key factors in the patching process is buying the right repair kit specific to the material of the kayak. This ensures proper adhesion and longevity of the patch. Take the time to determine the material of your kayak and choose a compatible repair kit.
Locating the area that requires repair is another important step. Thoroughly inspect the kayak for leaks and mark the hole with a pencil to easily reference it during the repair process.
Additionally, cleaning and preparing the kayak before applying the patch is crucial. Ensure the kayak is free from dirt, grease, grime, and moisture, as these can prevent the glue or epoxy from properly adhering to the surface. Lastly, remember to wait for the recommended curing time before using the kayak again to allow the patch to fully set.
By following these steps and taking the necessary precautions, kayakers can ensure the safety of their inflatable kayaks and enjoy many more memorable water adventures.
- How to Inflate Intex Explorer K2 Kayak? - June 10, 2025
- Experience the Thrill of Tandem Kayaking with Necky Amaruk Tandem Kayaks - April 13, 2024
- How to Transport a Kayak on a Car? - February 29, 2024
