 If you’re a boating enthusiast, installing an inline fuse for your trolling motor is a critical step to maintain your safety in the water. An inline fuse acts as a safeguard by regulating the current flowing through the electrical system of your trolling motor. It can prevent electrical damage, overheating, and fire hazards.
But how do you install an inline fuse for your trolling motor? Our installation guide will provide you with a comprehensive step-by-step guide that covers everything you need to know about adding an inline fuse to your trolling motor.
From understanding the importance of an inline fuse to selecting the right fuse and mounting it correctly, our guide has got it all covered. By following our guide, you can enhance your trolling motor’s efficiency and safety, and enjoy your boating experience to the fullest.
Understanding the Importance of an Inline Fuse
Before diving into the installation process, it’s crucial to understand why an inline fuse is essential for the safety and longevity of your trolling motor and electrical system. An inline fuse serves as a protective component that safeguards the motor and electrical system from potential damage.
The role of the inline fuse is to break the circuit when the current exceeds the rated amperage and protect the trolling motor from overloading, overheating, and catching fire. Failing to install an inline fuse can result in damage to the motor and electrical system and pose a safety hazard to you and your boat.
By installing an inline fuse, you can ensure the protection of your trolling motor and electrical system, safeguarding against unexpected power surges and electrical failure. Additionally, an inline fuse can save you from costly repairs and replacements of your motor and electrical components.
Overall, an inline fuse is a necessary component for the longevity and safety of your trolling motor and electrical system. Investing the time and effort into understanding the importance of an inline fuse and properly installing one can provide peace of mind and a worry-free experience on the water.
Choosing the Right Inline Fuse
Choosing the appropriate inline fuse is essential for optimal performance and safety of your trolling motor. It’s essential to select a fuse with an amp rating compatible with your motor’s requirements. Generally, trolling motors require a fuse in the range of 40 to 60 amps.
When selecting the fuse, consider the motor’s amperage draw, type of battery, and other electrical system components used. A higher amperage fuse can lead to motor damage, while a lower amperage rating can cause frequent fuse blowouts.
You can calculate the ideal fuse size by dividing the maximum amperage rating of your motor by 0.8. For example, if your trolling motor has a maximum continuous amperage rating of 50 amps, you should select a 60-amp fuse (50/0.8 = 62.5, round up to 60).
| Motor Amperage Draw | Fuse Amp Rating |
|---|---|
| Less than 30 amps | 40 amps |
| 30 to 45 amps | 50 amps |
| Over 45 amps | 60 amps |
Remember, selecting the right inline fuse is crucial for your trolling motor’s safety and performance. Take the time to consider your motor’s requirements and use our guide to select the most appropriate fuse to enhance your trolling motor’s reliability and longevity.
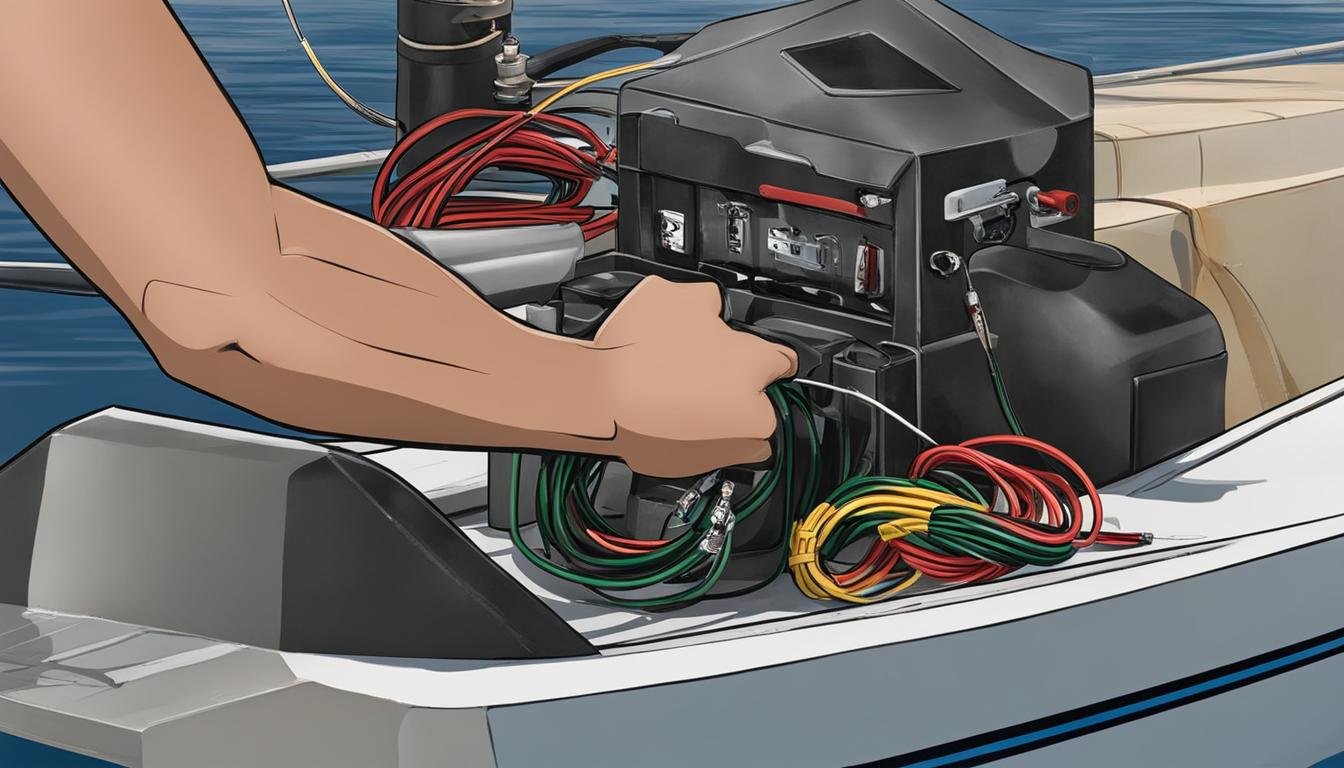
Step-by-Step Installation Process
Before you begin, make sure you have all the necessary tools and equipment, including the inline fuse, wire cutters, crimping tool, and heat shrink tubing.
Follow these steps to install the inline fuse for your trolling motor:
- Locate the wiring that runs from your battery to the trolling motor. Make sure the power is turned off before you begin the installation process.
- Use wire cutters to cut the positive wire that runs from the battery to the trolling motor.
- Strip the ends of the wire to expose the metal.
- Take one end of the wire and insert it into one side of the inline fuse holder. Take the other end of the wire and insert it into the opposite side of the holder.
- Using a crimping tool, crimp the ends of the wire to secure them in place.
- Slide a piece of heat shrink tubing over the inline fuse holder and use a heat gun to shrink it in place. This will protect the connections from water and other potential damages.
- Mount the inline fuse holder near the trolling motor mount, making sure it is easily accessible for future maintenance.
- Attach the positive wire that runs from the battery to the trolling motor to one side of the inline fuse holder.
- Attach a new wire to the opposite side of the inline fuse holder, running it to the trolling motor and attaching it to the positive terminal.
- Secure all connections with crimp connectors and heat shrink tubing to prevent any potential damage or short circuits.
- Test the inline fuse by turning the power on and off. Make sure the trolling motor turns on and off as expected.
Following these installation steps will ensure your trolling motor is equipped with an inline fuse, enhancing its safety and protecting your electrical system from potential damage.
Testing and Troubleshooting
After installing your inline fuse for your trolling motor, it’s essential to test the electrical connection and ensure it is functioning correctly. Here’s how you can test your inline fuse:
- Start by disconnecting the battery to avoid potential electric shock.
- Locate the inline fuse and inspect it for any signs of damage or wear and tear.
- Connect a multimeter to the fuse on both ends.
- Turn on the trolling motor and check the voltage reading on the multimeter. It should match the amperage rating of your inline fuse.
- If the voltage reading is lower than the amperage rating, turn off the trolling motor and inspect the wiring and connections for any loose or damaged parts.
- If the voltage reading is higher than the amperage rating, turn off the trolling motor and replace the inline fuse with one that has a higher amperage rating.
- After completing the testing process, reassemble all the components, and reconnect the battery.
If you encounter any issues during the testing process or after the installation, here are some troubleshooting tips:
- Check the wiring and connections for any loose or damaged parts.
- Ensure that the inline fuse is the correct size and has the appropriate amperage rating for your trolling motor.
- Inspect the battery to ensure it is functioning correctly.
- Consult with a professional electrician if you are unsure about the installation process or troubleshooting steps.
Keep in mind that proper testing and troubleshooting can help prevent potential damage to your trolling motor and electrical system, ensuring a safe and enjoyable experience on the water.
Conclusion
In conclusion, installing an inline fuse for your trolling motor is a crucial step in maintaining its efficiency and ensuring safety on the water. By following our comprehensive installation guide, you can enhance the lifespan of your trolling motor while preventing potential damage to your electrical system.
Stay Safe on the Water
Remember to always prioritize safety when on the water. Installing an inline fuse is just one of many ways to ensure your boating experience is safe and enjoyable. As always, make sure to keep your safety equipment up to date and follow all boating regulations in your area.
Expert Assistance
If you encounter any difficulty during the installation process, don’t hesitate to seek expert assistance. A professional electrician or marine technician can provide guidance and support to ensure your trolling motor functions at its best.
Final Thoughts
We hope this guide has been helpful in understanding the importance of an inline fuse and how to properly install one for your trolling motor. By keeping your electrical system protected and functioning at its best, you can enjoy a worry-free boating experience for years to come.

- How to Inflate Intex Explorer K2 Kayak? - June 10, 2025
- Experience the Thrill of Tandem Kayaking with Necky Amaruk Tandem Kayaks - April 13, 2024
- How to Transport a Kayak on a Car? - February 29, 2024