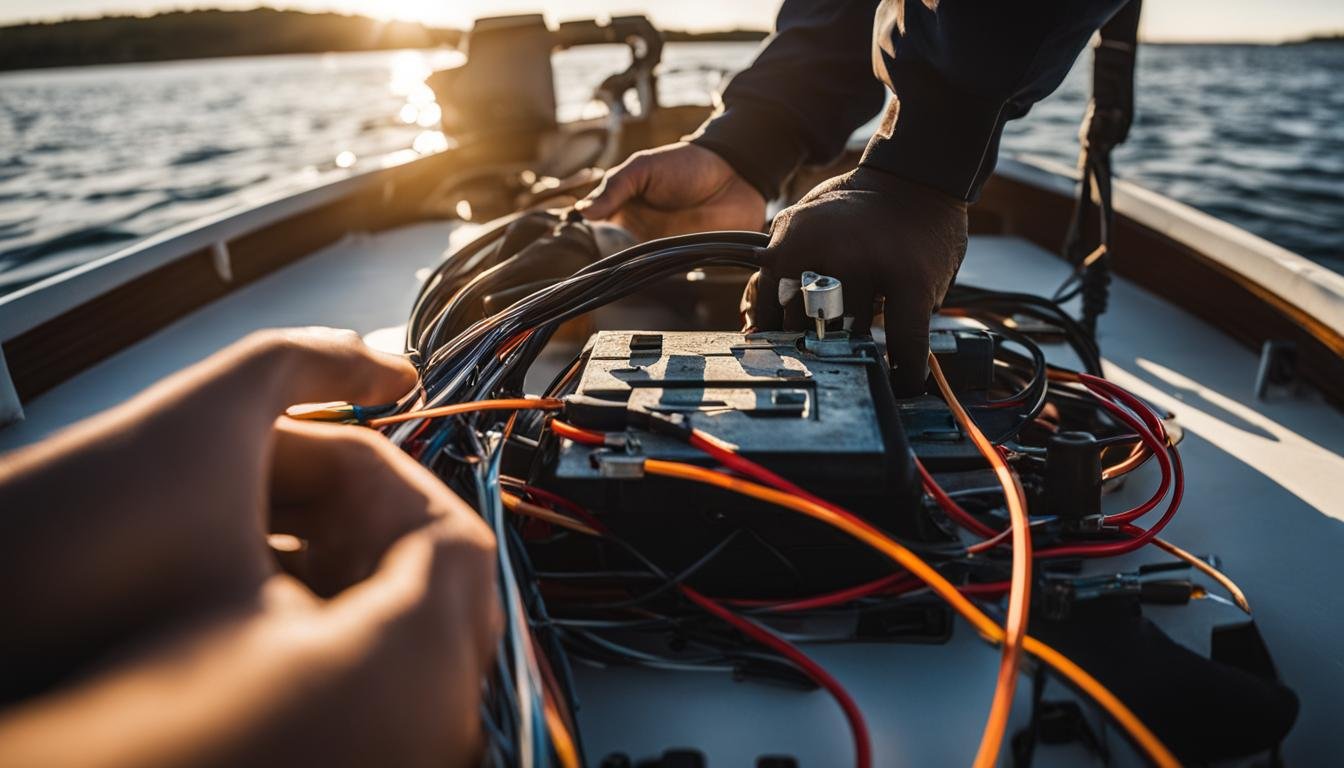
 Are you ready to take your fishing experience to the next level with a powerful 24V trolling motor? Whether you’re a seasoned angler or just starting out, knowing how to properly hook up your motor is essential for a successful day on the water. In this article, we’ll guide you through the step-by-step process of connecting your 24V trolling motor, ensuring a reliable and efficient setup.
Before diving into the specifics, let’s briefly review the general steps for connecting any trolling motor. First and foremost, ensure that all switches are in the “OFF” position before making any connections. This will help prevent any accidental electrical mishaps during the setup.
Now, let’s focus on the specific instructions for connecting a 24V trolling motor. To power your motor, you’ll need two 12-volt deep-cycle marine batteries. Begin by connecting the BLACK wire from the power cable to the negative (-) terminal of one battery. Then, connect the RED wire to the positive (+) post of the other battery. It’s crucial to use a 40-amp circuit breaker on the connection between the RED wire and the positive terminal to ensure proper protection.
Additionally, it’s important to use a jumper wire to connect the batteries in your 24V system. The jumper wire should have the same gauge as the motor leads and is utilized to link the negative (-) post of the first battery to the positive (+) post of the second battery. This completes the circuit and allows the motor to operate at the desired 24 volts.
By following these steps and ensuring the correct connections, you’ll be well on your way to enjoying the enhanced power and performance of your 24V trolling motor. Stay tuned for the next sections of this article, where we’ll provide detailed instructions for connecting a 12-volt trolling motor, a 12-/24-volt trolling motor, a 36-volt trolling motor, and troubleshooting any heating issues with the trolling motor plug.
Next, let’s dive into connecting a 12-volt trolling motor!
Connecting a 12-Volt Trolling Motor
To connect a 12-volt trolling motor, you will need to make a secure and proper connection to the battery terminal. Follow these steps to ensure a successful hookup:
- Start by ensuring that all switches are in the “OFF” position.
- Locate the RED lead from the power cable of the trolling motor. This is the positive (+) wire.
- Connect the RED lead to the positive (+) battery terminal.
- Locate the BLACK lead from the power cable. This is the negative (-) wire.
- Connect the BLACK lead to the negative (-) battery terminal.
- Use a 50-amp circuit breaker in the connection between the RED wire and the positive terminal to protect the connection from overload.
By following these steps, you will ensure a secure and proper connection for your 12-volt trolling motor. This will allow you to power your motor effectively and enjoy a smooth boating experience.
Table: Components for Connecting a 12-Volt Trolling Motor
| Component | Color | Battery Terminal | Connection |
|---|---|---|---|
| Power Cable | RED | Positive (+) | Connect to positive terminal |
| Power Cable | BLACK | Negative (-) | Connect to negative terminal |
| Circuit Breaker | N/A | Connection between RED wire and positive terminal | Use a 50-amp circuit breaker |
Refer to the table above for a summary of the components and their connections when connecting a 12-volt trolling motor. This visual representation will help you ensure that you have everything in place for a successful hookup.
Connecting a 24-Volt Trolling Motor
When it comes to connecting a 24-volt trolling motor, it’s important to follow the proper steps to ensure a successful hookup. By using two 12-volt deep-cycle marine batteries, you can achieve the 24 volts required for the motor to run efficiently. Here’s a detailed guide on how to connect your 24-volt trolling motor:
- Start by gathering the necessary materials, including two 12-volt deep-cycle marine batteries, a trolling motor power cable, a 40-amp circuit breaker, and a jumper wire of the same gauge as the motor leads.
- Ensure that all switches are in the “OFF” position before proceeding with the connection.
- Connect the BLACK wire from the power cable to the negative (-) terminal of one battery.
- Next, connect the RED wire from the power cable to the positive (+) post of the other battery.
- Install a 40-amp circuit breaker on the connection between the RED wire and the positive terminal to protect the circuit.
- Finally, connect the jumper wire from the negative (-) post of the first battery to the positive (+) post of the second battery. This completes the circuit and ensures the proper 24-volt connection for your trolling motor.
By following these steps, you can safely and effectively connect your 24-volt trolling motor. Remember to use the appropriate circuit breaker to protect the electrical system from any potential issues. Properly connecting your trolling motor is crucial for optimal performance on the water.
| Motor Type | Battery Configuration | Circuit Breaker | Jumper Wire |
|---|---|---|---|
| 12-Volt Trolling Motor | Single 12-volt battery | 50-amp | N/A |
| 24-Volt Trolling Motor | Two 12-volt batteries | 40-amp | Required |
| 12-/24-Volt Trolling Motor | Two 12-volt batteries | 40-amp (for 24-volt) and 40-amp (for 12-volt) | Required |
| 36-Volt Trolling Motor | Three 12-volt batteries | 40-amp (for motors up to 81 lbs.) or 50-amp (for motors above 81 lbs.) | Required |
Table: Comparison of Trolling Motor Connections
Connecting a 12-/24-Volt Trolling Motor
When it comes to connecting a 12-/24-volt trolling motor, it’s important to ensure the proper wiring and connection of batteries. By following the correct procedures, you can ensure a smooth and efficient operation for your trolling motor. Here’s a step-by-step guide to help you connect your 12-/24-volt trolling motor.
Step 1: Prepare the Batteries
To start, make sure you have two 12-volt deep-cycle marine batteries. These batteries will be used to create a 24-volt system for your trolling motor. Ensure that both batteries are fully charged and in good condition. It’s crucial to use batteries of the same type and capacity to achieve optimal performance.
Step 2: Connect the RED Wire
Next, connect the RED wire from the power cable to the positive (+) post of battery A. This connection will serve as the positive lead for your 12-/24-volt system. To protect this connection, use a 40-amp circuit breaker.
Step 3: Connect the BLACK and WHITE Wires
Now, connect the BLACK wire from the power cable to the negative (-) post of battery B. This connection will serve as the negative lead for your 12-/24-volt system. Additionally, connect the WHITE wire from the power cable to the positive (+) post of battery B, which will also act as the 12-volt lead. Use a 40-amp circuit breaker to protect this connection as well.
Step 4: Create a Jumper Connection
To complete the 12-/24-volt system, you’ll need to create a jumper connection between battery A and battery B. Connect a jumper from the negative (-) post of battery A to the positive (+) post of battery B. This jumper wire should be of the same gauge as the motor leads and will ensure that the batteries work together to power your trolling motor.
By following these steps, you can easily connect your 12-/24-volt trolling motor and enjoy a seamless boating experience. Remember to double-check all connections, use the appropriate circuit breakers, and ensure that all switches are in the “OFF” position before connecting your trolling motor.
Connecting a 36-Volt Trolling Motor
When it comes to connecting a 36-volt trolling motor, you’ll need three 12-volt deep-cycle marine batteries and the right wiring setup. This configuration allows for a powerful motor that can handle various fishing conditions. Let’s take a closer look at the steps involved in connecting a 36-volt trolling motor.
First, connect the RED wire from the power cable to the positive (+) post of battery A. It’s crucial to use the appropriate circuit breaker based on the thrust of your motor. For motors with 81 lbs. of thrust and under, use a 40-amp breaker. For motors with more than 81 lbs. of thrust, a 50-amp breaker is recommended to protect the system from overloading.
Next, connect the BLACK wire from the power cable to the negative (-) post of battery C. This completes the main circuit for your trolling motor. To ensure proper voltage distribution, connect a jumper wire from the negative (-) post of battery A to the positive (+) post of battery B. This connection allows the battery power to flow in sequence, creating a 36-volt system.
To summarize:
Connecting a 36-Volt Trolling Motor:
- Connect the RED wire to the positive (+) post of battery A, using the appropriate circuit breaker.
- Connect the BLACK wire to the negative (-) post of battery C.
- Connect a jumper wire from the negative (-) post of battery A to the positive (+) post of battery B.
By following these steps, you’ll have your 36-volt trolling motor properly connected and ready for your next fishing adventure. Remember to always double-check the connections and make sure the wires are securely attached to the battery terminals. Safety should be a priority when working with electrical components, so take your time and ensure everything is in order before setting off on the water.
| Connection | Wire | Battery |
|---|---|---|
| Main Circuit | RED | Battery A |
| Main Circuit | BLACK | Battery C |
| Jumper Wire | Black/Red | Battery A to B |
Using a Jumper Wire for 24V and 36V Systems
When setting up a 24V or 36V trolling motor system, a jumper wire is an essential component. This wire is responsible for connecting the batteries in the system, allowing the motor to run at the desired voltage. Whether you have a 24V or 36V system, the jumper wire serves the same purpose of completing the circuit and providing the necessary power.
The jumper wire should be of the same gauge as the motor leads. It connects the positive (+) post of one battery to the negative (-) post of another battery. This connection is crucial in creating the required voltage for the trolling motor to operate effectively. By ensuring that the jumper wire is properly installed and securely connected, you can ensure that your 24V or 36V system functions optimally.
Benefits of Using a Jumper Wire
- Efficient Power Distribution: The jumper wire evenly distributes power across all batteries in the system, ensuring that each battery contributes to the overall voltage required for the motor to run smoothly.
- Improved Motor Performance: By creating the correct voltage, the jumper wire allows the trolling motor to operate at its intended power level. This results in improved performance and efficiency, giving you better control and longer battery life.
- Reduced Strain on Batteries: By evenly distributing power, the jumper wire helps prevent one battery from bearing the full load. This helps extend the lifespan of your batteries and ensures they can provide consistent power throughout your fishing trips.
Installing a jumper wire in your 24V or 36V trolling motor system is a straightforward process. By following the manufacturer’s instructions and using a jumper wire of the appropriate gauge, you can ensure that your motor operates at the desired voltage and delivers optimal performance on the water.
Table: Comparison of Jumper Wire Installation for 24V and 36V Systems
| System | Number of Batteries | Jumper Wire Connection |
|---|---|---|
| 24V | 2 | Connect the positive (+) post of Battery A to the negative (-) post of Battery B |
| 36V | 3 | Connect the positive (+) post of Battery A to the negative (-) post of Battery B, and connect the positive (+) post of Battery B to the negative (-) post of Battery C |
Troubleshooting Heating Issues with the Trolling Motor Plug
If you notice that your trolling motor plug is heating up and the wires are getting hot, it could indicate a wiring issue that needs to be addressed. Excessive heat can damage the plug and pose a safety risk. In this section, we will discuss troubleshooting steps to identify and resolve heating issues with the trolling motor plug.
The first step is to double-check the connections and ensure that the positive (+) and negative (-) wires are properly aligned with the terminals in the plug. Incorrect alignment or loose connections can cause resistance, leading to heat buildup. Make sure the wires are securely fastened and there is no corrosion on the terminals. If you find any issues, tighten the connections or replace the plug if necessary.
Using a circuit breaker or fuse can also help protect the trolling motor plug from overheating. These devices are designed to trip or blow when there is an excessive current flow, preventing damage to the wiring and components. Install a circuit breaker or fuse in the power supply circuit to safeguard the system and ensure safe operation.
Note: If you are unsure about the wiring or troubleshooting process, consult a professional or refer to the manufacturer’s instructions for your specific trolling motor and plug.
| Possible Causes of Heating Issues | Troubleshooting Steps |
|---|---|
| Loose connections | Ensure all connections are tight and secure |
| Incorrect alignment of wires and terminals | Double-check the alignment and make necessary adjustments |
| Corrosion on terminals | Clean terminals and eliminate corrosion |
| Lack of circuit breaker or fuse | Install a circuit breaker or fuse for protection |
Conclusion
In conclusion, properly hooking up a 24V trolling motor is essential for a smooth and efficient boating experience. Whether you are connecting a 12V, 24V, or 12-/24V trolling motor, or a 36V trolling motor, following the correct procedures is crucial. Ensure that all switches are in the “OFF” position before starting the wiring process.
Use the appropriate circuit breakers to protect the connections and prevent overheating. Double-check that the positive (+) and negative (-) wires are properly aligned with the battery terminals and the trolling motor plug. If necessary, replace the plug and ensure tight and corrosion-free connections. This will help maintain a consistent power supply and avoid any potential issues.
By properly hooking up your 24V trolling motor, you can enhance your fishing ventures and enjoy a more productive and enjoyable time on the water. Make sure to carefully follow the instructions and ensure that all connections and components are in good working condition. With the right setup, you’ll be ready to explore new fishing grounds and make the most out of your boating adventures.

- How to Inflate Intex Explorer K2 Kayak? - June 10, 2025
- Experience the Thrill of Tandem Kayaking with Necky Amaruk Tandem Kayaks - April 13, 2024
- How to Transport a Kayak on a Car? - February 29, 2024